Welcome to the Monthly Dispatch, in which I look back over the past month and share a few highlights with you all. The Monthly Dispatch is for free and paid subscribers alike and will add new depth to the journey we are taking together.
Contents
Photo from the Archives
Last Month in the Van Build
My Art
Other Thoughts and Stories
Monthly Recipe
Photo from the Archives
So much about my life and art changed when I began walking the South West Coast Path. My relationship with land and sea, my fitness, my mental health, the direction and meaning of my art, what I want to achieve in my career. All these things changed, and those changes led directly to everything I am doing right now.
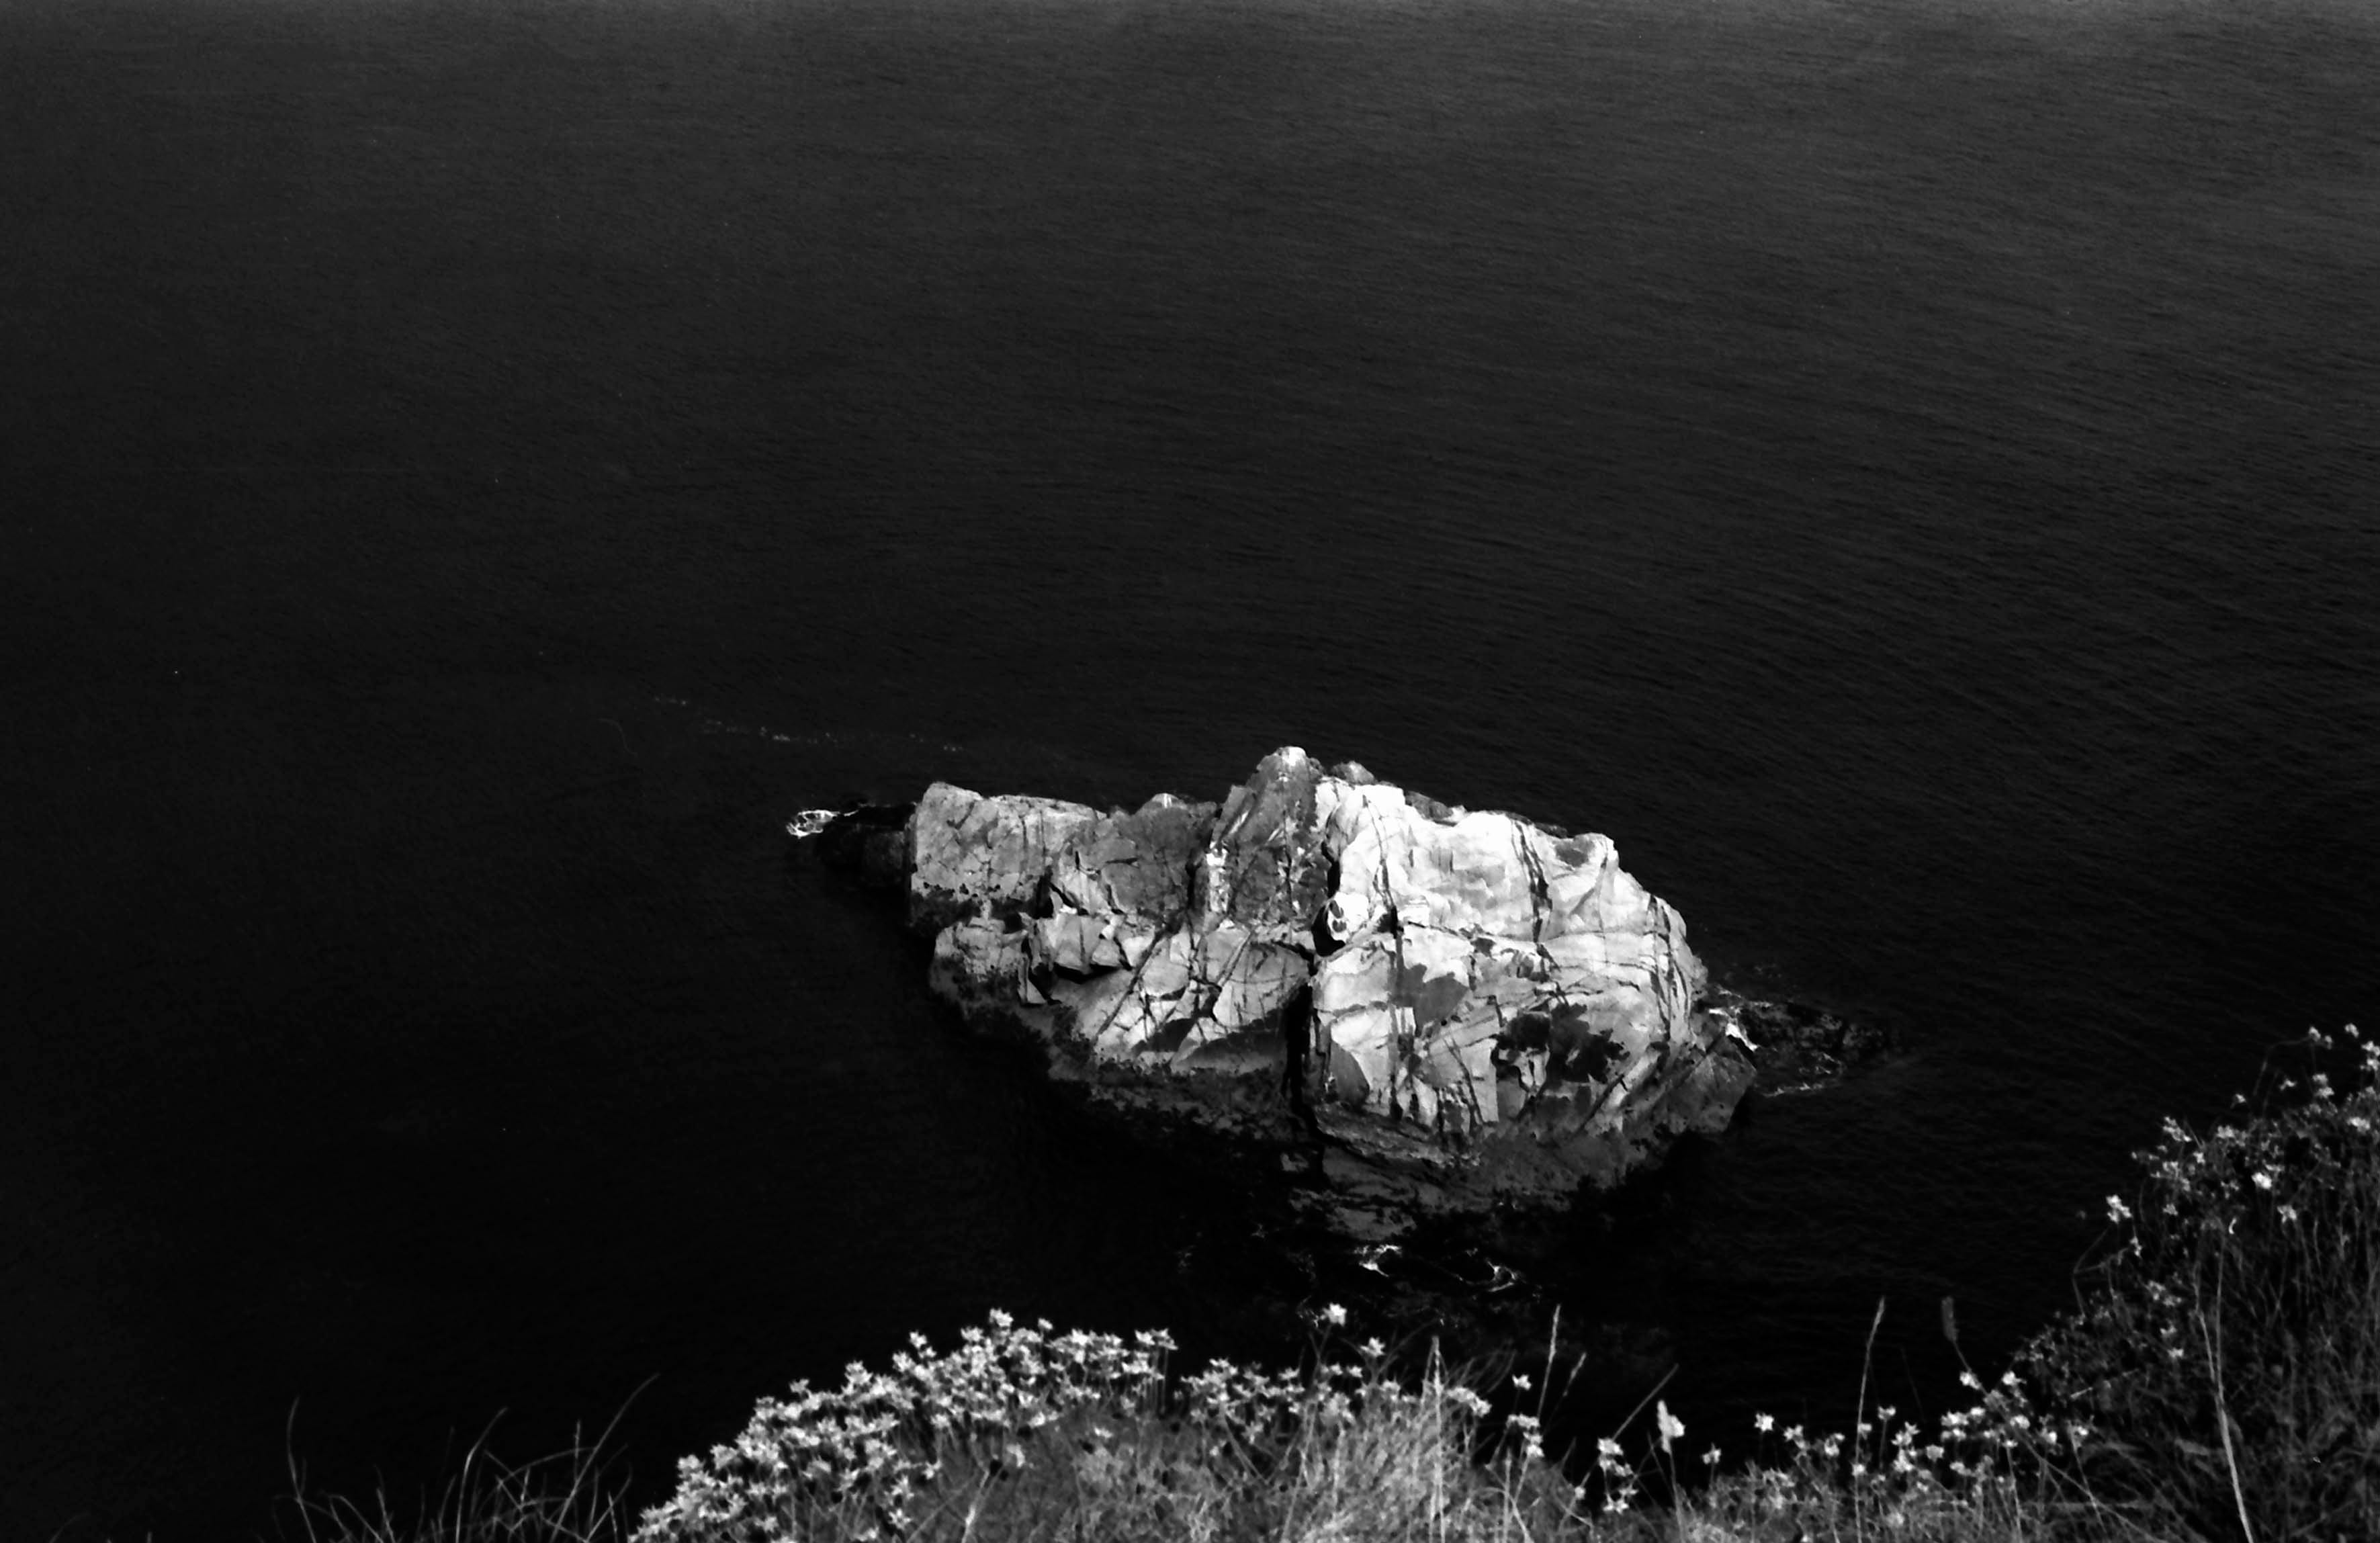
This photograph is from the still on-going project inspired by those hikes. It was taken on a three-day journey between Hayle and Holywell on the Cornish coastline. I love the way the shape of the land is reflected in the shape of the rock below. I also adore the blackness of the sea, and the contrast it creates with the pale rock and flowers. The Cornish sea, particularly along this stretch of the coastline, is a spectacular shade of blue. The colour translates incredibly in B&W photographs, helping me do justice to the world I am experiencing.
Last Month in the Van Build
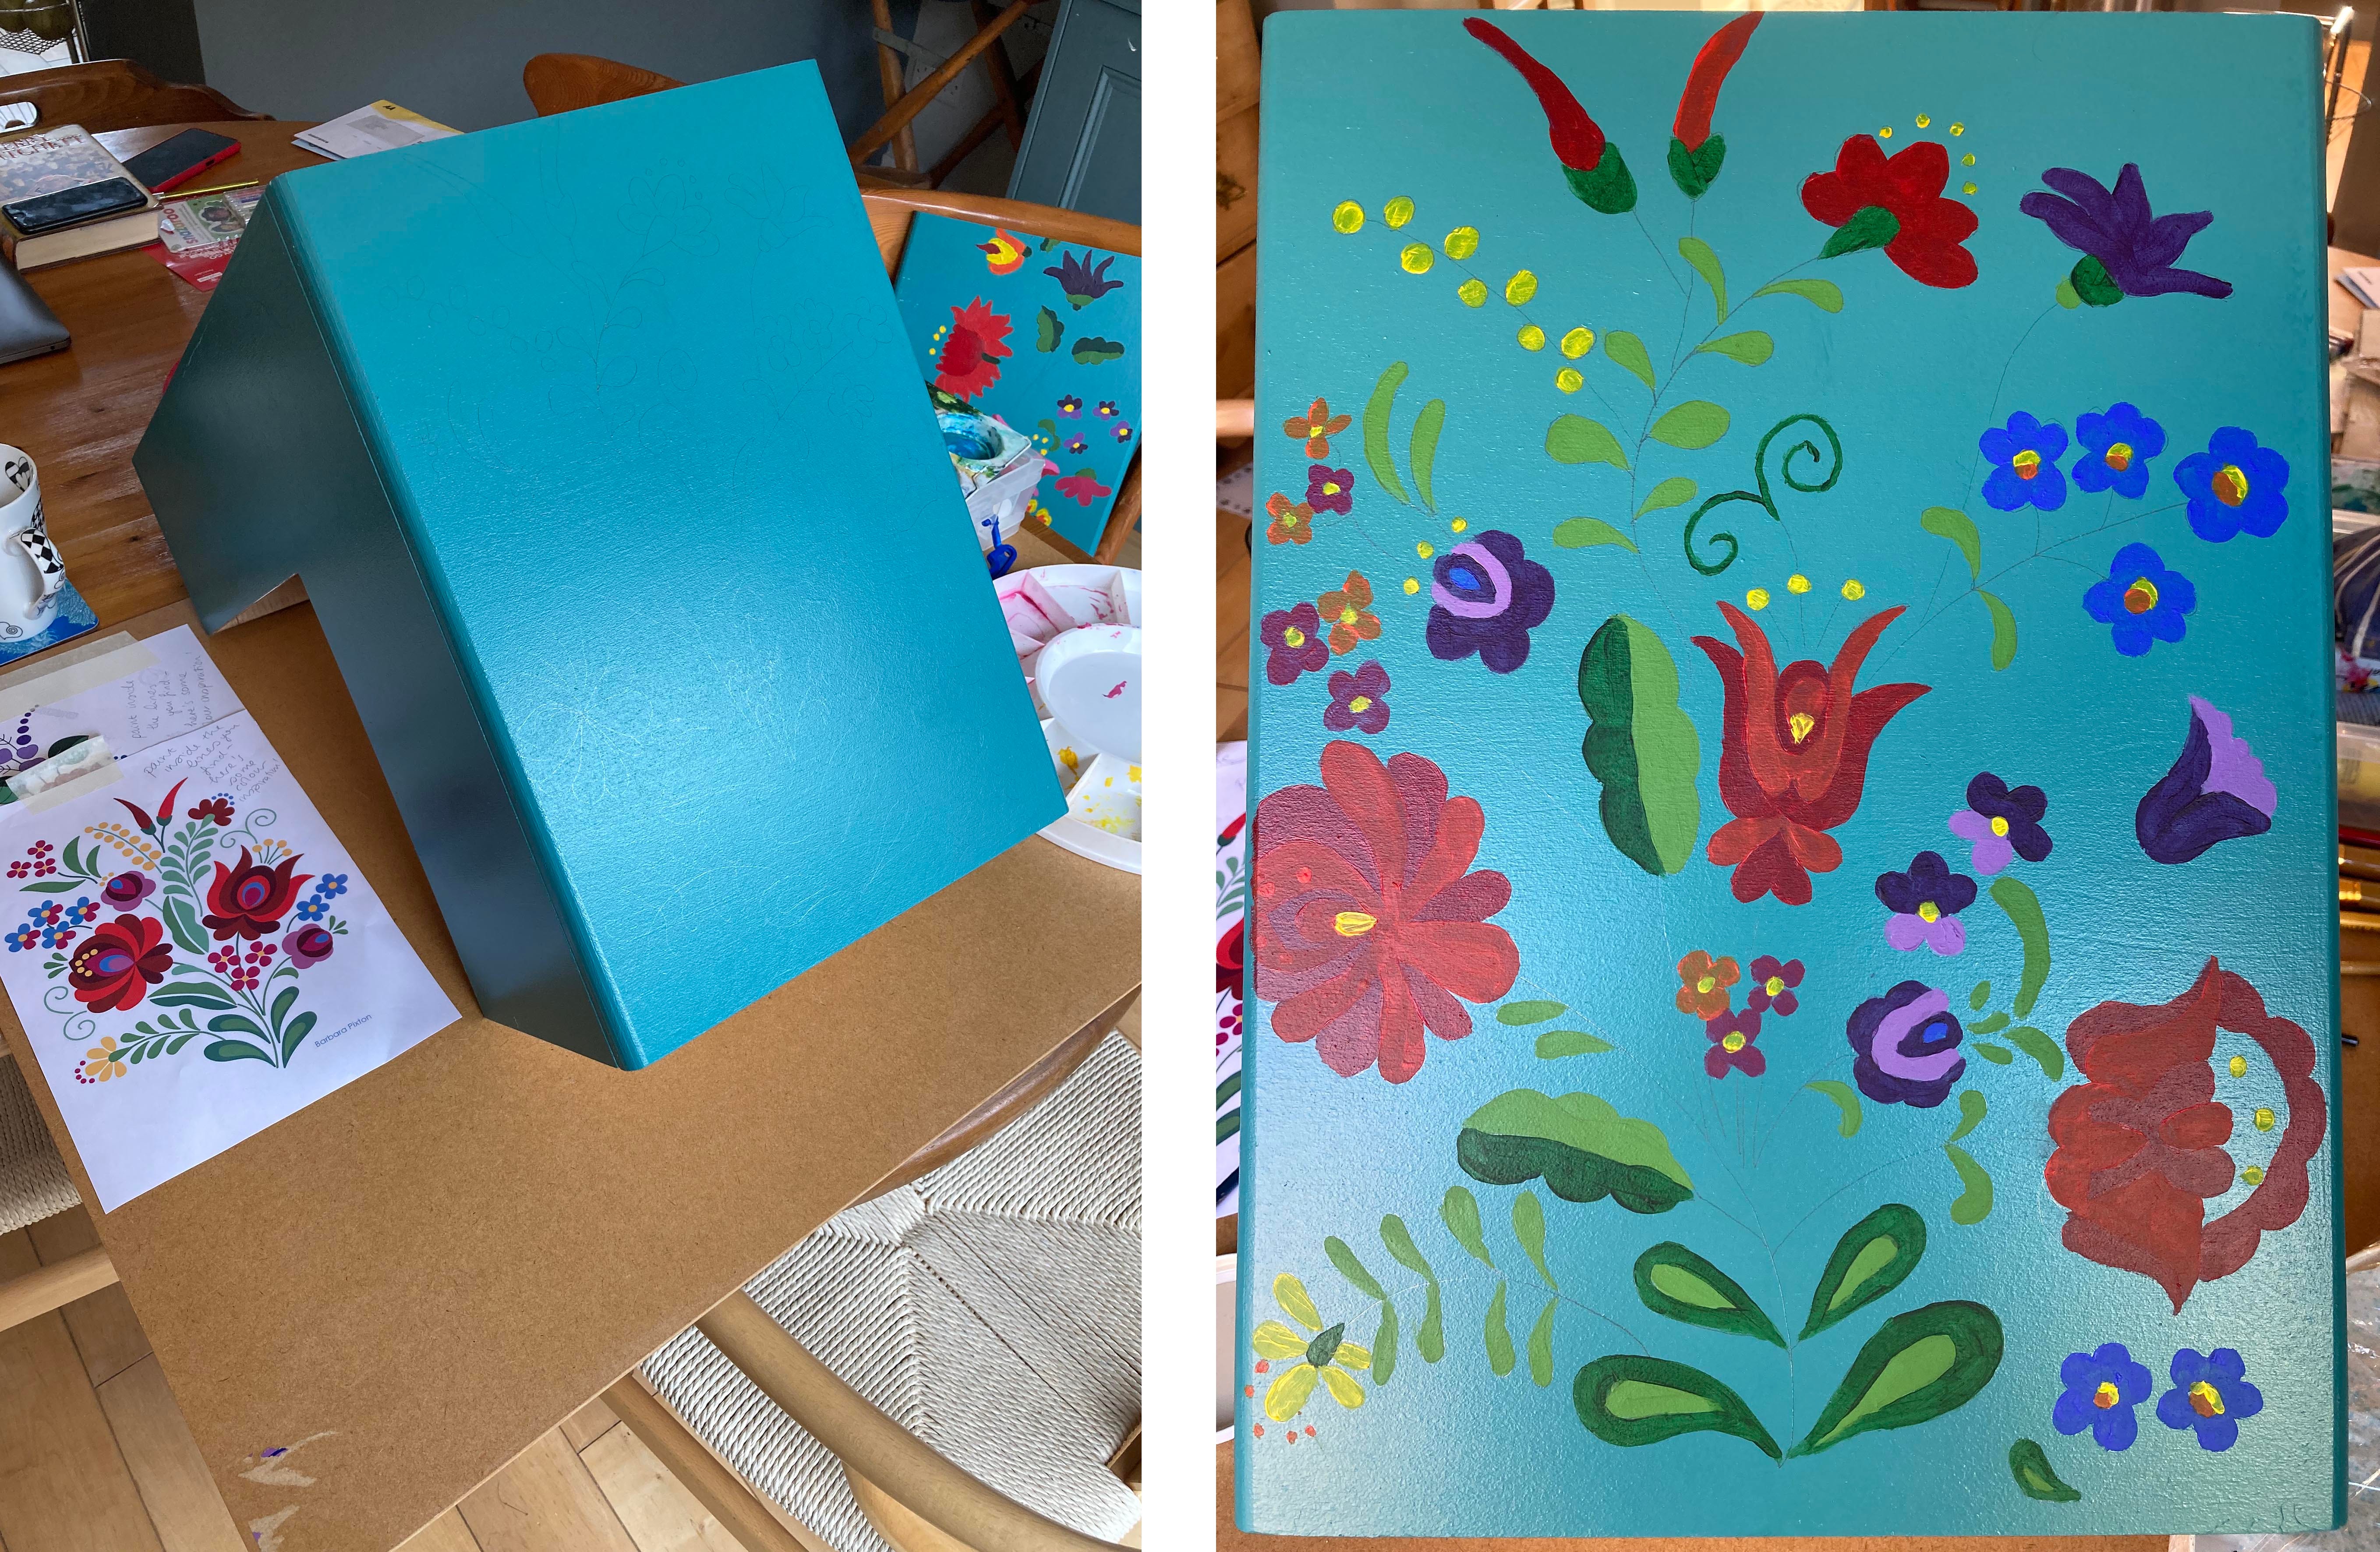
The van has taken a back seat this month. My art had to come first so I have mostly stepped away. But not entirely. I wanted to keep in touch with building my tiny home even if I couldn’t do much, and so I bought and started painting my compostable loo. Some of you may remember that I wrote about finding this wonderful, UK made, compostable toilet in the very early days of A Nomadic Rose. One of the things I like most about these loos is the fact that you can decorate them.
And decorate it I am. Spending a few quiet moments in this pressure filled month painting Hungarian folk art inspired flowers has been a much-needed joy. It isn’t completed yet but so far, I LOVE it.

My Art
The Seagrass Walk opens to the public next Friday. The opening date rushing in like a rising tide. Everyday something changes, something takes a step closer to completion, and I remind myself to breathe deeply. On Monday night I barely slept, overtaken by panic and confusion. The video projection hadn’t worked, it seemed too small on the stretch of wall, the projector had been installed in the wrong place. Everything felt wrong and I couldn’t see how to fix it.
Yesterday I arrived at the aquarium to discover they had moved the projector for me, that Tuesdays endless YouTube tutorials had paid off and my film would finally play properly, and that the incredible people I’ve been working all came to help make the decisions I could not. My relief could not have been greater.
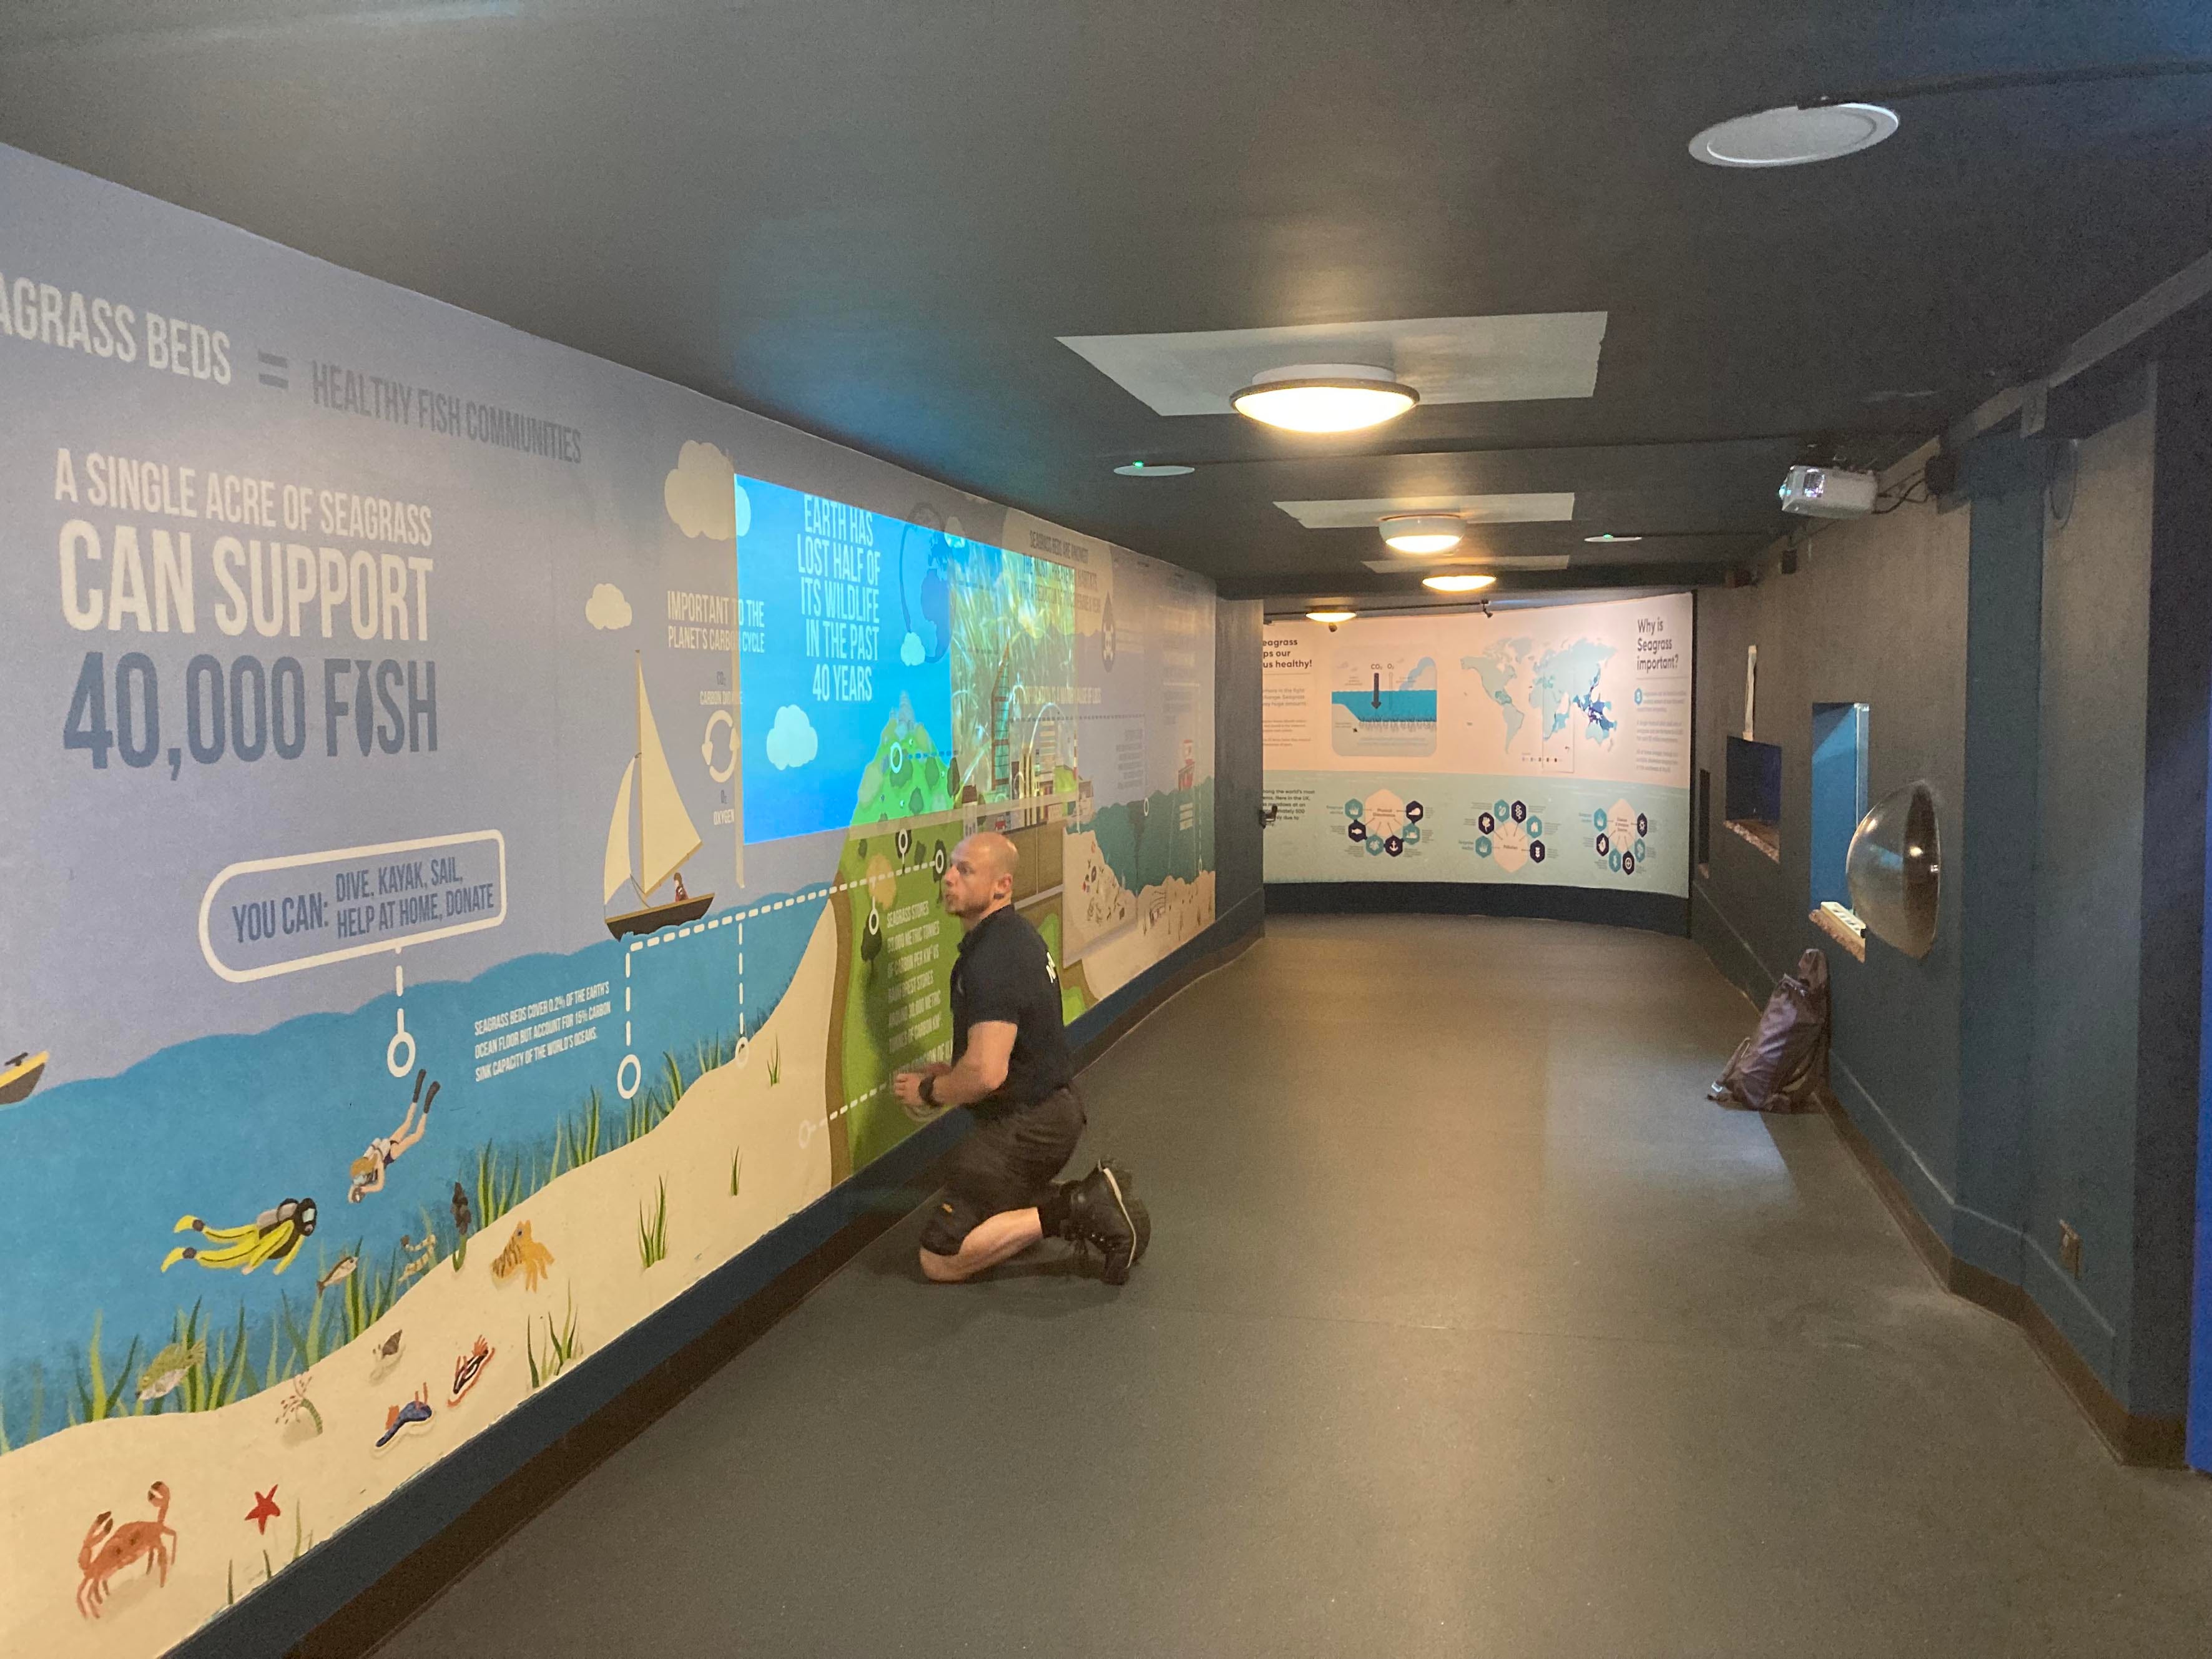
Every time I step foot in the aquarium now the corridor has changed, the next piece of the install taking place after hours. Every time I check my emails there is an update on pieces I am waiting for. Every time I check something off my to do list, I get one step closer to the finishing line. I am proud of how well I’ve managed my time, how well I’ve planned, how close I am. I can’t wait for next Friday.

Other Thoughts and Stories
There hasn’t been much this month that wasn’t editing film footage or having meetings at the aquarium, but I have snuck in a few mini adventures. I have been living in Penwith, the West Cornwall Peninsula, for almost a year now. Every time I venture out, I fall more in love with the area. Stand in the right spot and you can see the sea on both sides, the coastlines on Penwith so close together you can walk between them in a day.
There are some extraordinary secrets and ancient sites hidden just off the roads that cross between these coastlines. Over the weekend Mum, Gem and I went adventuring, walking among the ruins of an ancient village, and standing with Neolithic standing stones. The day left me smiling and looking forward to discovering more of this sacred and ancient land.

Monthly Recipe
It’s Wimbledon, my favourite two weeks of the year. That also means its strawberry season. So here is one of my Wimbledon and Strawberry inspired recipes. This is a recipe that needs a full day to prepare as things need to be made in advance, however much of it doesn’t require your full attention all day.
Strawberry, Cream and Waffle Cone Treats
Ingredients
For the macerated strawberries -
150g-200g of Strawberries (it depends how many people you are feeding)
20ml (roughly one tablespoon) of lemon, more if using more strawberries
A sprinkle of sugar
For the jelly -
350g of strawberries
350ml of water
30g of caster sugar
1 sachet of Vege-Gel (vegan setting agent from Dr Oetker)
For the dried strawberries -
2-3 strawberries (more if serving lots of people)
For the Chantilly Cream
Double Cream
Icing Sugar
Vanilla Essence
How much you use of these ingredients depends how many people do you are serving, and how sweet/strong you like your Chantilly cream.
For the Waffle Cones
2 Egg Whites
115g of Soft Brown Sugar
50ml of Full-fat Milk
2.5ml (half a teaspoon) of Vanilla Essence
Pinch of salt
100g Plain Flour (you can easily use GF Plain Flour if you want!)
30g of melted butter
(That’s a hell of an ingredients list!)
Method
Start with the Jelly
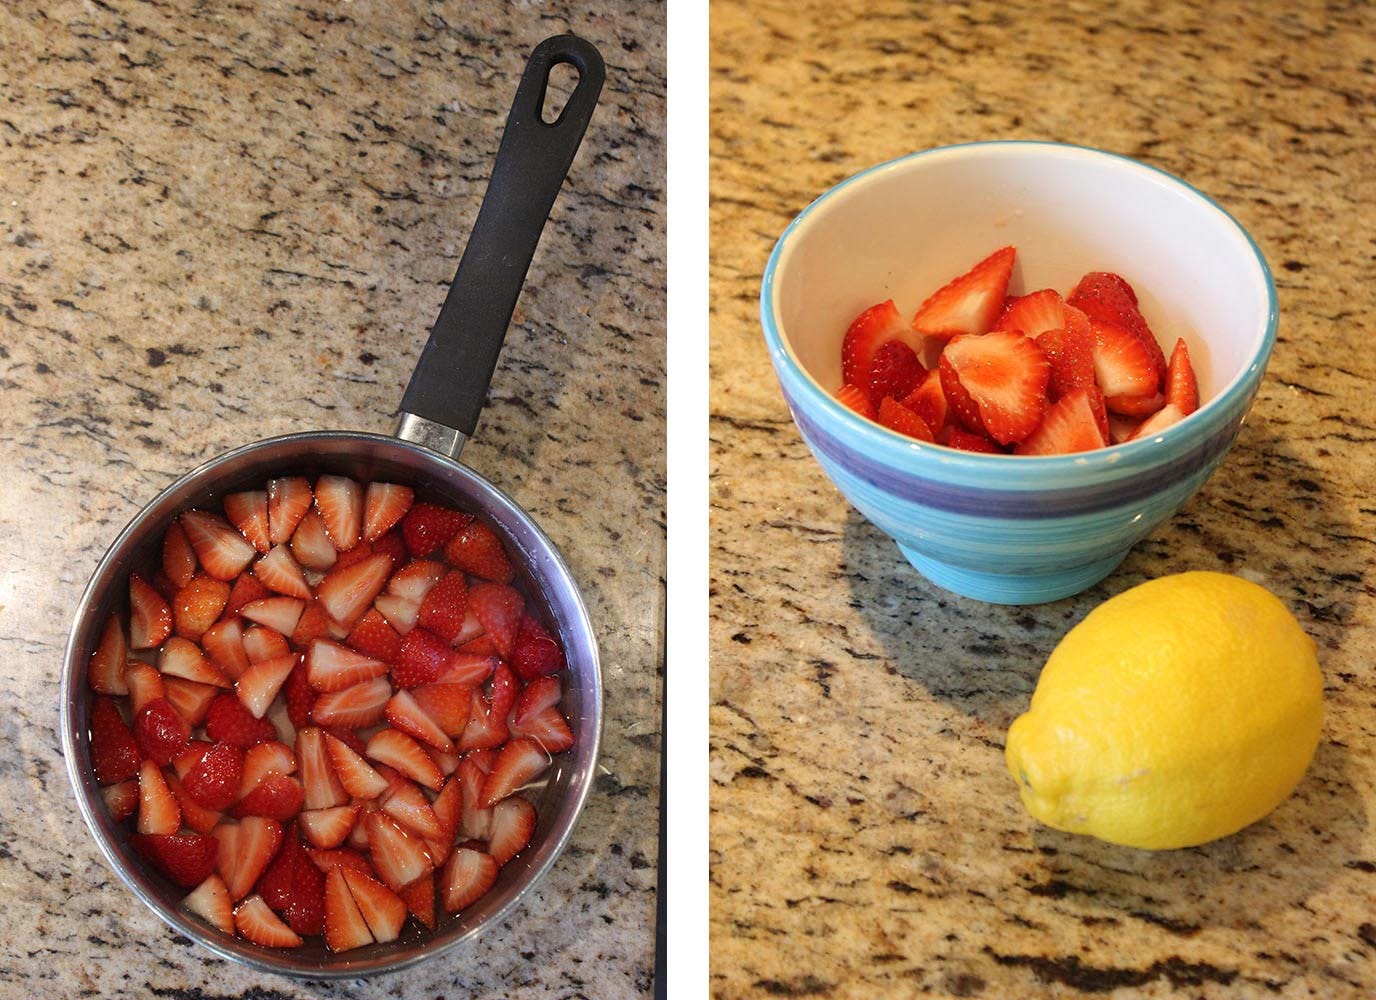
Hull (cut off the green tops) and quarter the strawberries
Place the strawberries, water and sugar in a saucepan and bring to the boil. Turn down to a low heat and leave to simmer for 45 minutes to an hour. Check occasionally to ensure they aren’t burning. If you have the heart turned down enough, they should be totally fine.
Remove from the heat and strain the mixture though a fine mesh placed inside a sieve (the type of muslin used in jam making is ideal). Leave the strawberries for 30 mins, occasionally using a spoon to press down and release more juice.
Remove the strawberry mush and rinse the mesh/cloth out. Then strain the juice a second time to remove any pulp that got through. This is ensure clarity in your jelly.
You should have somewhere around 500ml of juice.
Place the juice into a clean pan and stir the vege-gel until it is dissolved. I used about half the packet but could have used more as my jelly wasn’t as firmly set as would have liked. Better a soft set than rubber though!
Place the pan over a medium to high heat and bring to the boil. Turn down the heat and boil for 2-3 mins. Strain the liquid through the mesh cloth again. If still cloudy looking strain one more time. It will be worth the effort for the clarity of your jelly later.
Pour your jelly into the mould, I used a silicone ice cube tray.
Place in the fridge to set. This will take most of the day no matter what the packet of vege-gel says about it taking an hour!
To make the macerated strawberries
Hull and quarter the strawberries, place into a bowl
All the lemon juice and sugar to taste
Cover the bowl and place into the fridge alongside your jelly.
To make the dried strawberries
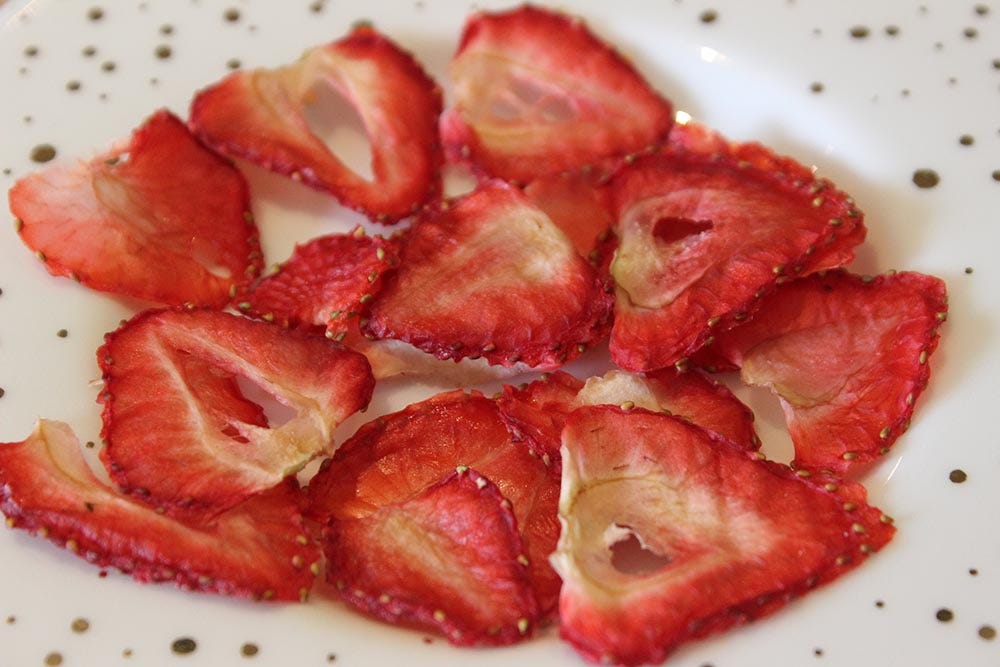
Preheat the oven to 100C (fan assisted)
Take the green tops of two or three (more if making them for lots of people, I was only serving two!) strawberries.
Slice as thinly as you can and place on greaseproof paper on a baking tray. Do not let them overlap
Place in the over for an hour.
After the first hour take the tray out and carefully turn the strawberries over. Go slow as they are delicate at this stage.
Return to the oven for a second hour.
Remove and turn over one more time, before returning to the oven for another 30 mins.
Remove from the oven and allow to cool completely
To make the Chantilly Cream
Add however much double cream you need for the number you are serving, I did around 100ml.
Using a handheld electric whisk, whisk the cream until it starts to thicken.
Add the icing sugar to taste (I did about half a tablespoon), and whisk a little more.
Before you’ve reached the thickness needed, your vanilla essence. I used about two capfuls.
Whisk again until as thick as you like it.
To make the Waffle Cones
Place the egg whites, brown sugar, milk, vanilla, and salt in a large bowl and whisk together.
Melt the butter.
Add the butter and plain flour to your mixture. Whisk again until fully combined and completely smooth.
Place in the fridge for 30 mins, then remove and whisk again.
Heat a frying pan (the best non-stick one you have, if you use a particular pan for making crepe or pancakes, I would advise using this one!)
Pour about 1 and a half tablespoons of the batter onto the hot pan, then using the back of a spoon spread the batter into a thin, even circle. Start in the middle and gently but quickly work outwards.
Cook over a medium heat until you can turn it over without it breaking. You will get a feel for this as you go but a good tip is when you can see it browning through the thinner bits you should be able to turn it over.
Cook on the other side or a minute or two, checking occasionally to make sure it isn’t burning.
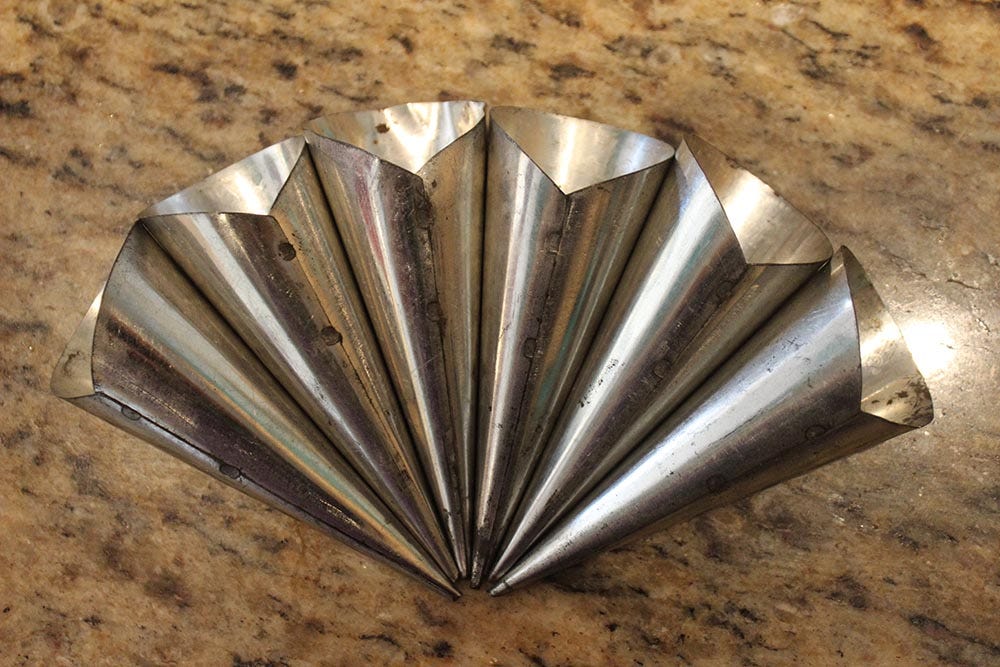
When ready remove from the heat and shape. This is the tricky bit as you have to do this with speed while the cone is still hot or it will break. I have some gorgeous, vintage ice cream cone moulds my best friend got me which certainly makes it easier. You can also shape them into bowls by simply draping them over a glass coated in a little oil if the cone feels too complicated.
To make the cone shape, quickly and carefully roll them from the bottom around your mould, or free form. Use a tissue to protect your fingers as you go. If going freeform, Pull out the shape at the top to make it a wider cone. Focus on rolling the bottom of the cone first and that makes it easier to shape the rest of the cone. Take care not to roll it tight, you want an opening at top to fill!
Place them seal down on a clean tea towel and hold gently until they feel set.
You can either make them all or make as many as you need and place the batter back into the fridge for another day.
I made all of mine and put them into a Tupperware box the minute they had cooled to help keep them as crisp as possible. Don’t worry if they go a bit soft however, they are still scrumptious!
When ready to serve, dice some fresh strawberries. If you can be bothered it is also worth cutting your macerated strawberries into smaller pieces.

Place a cone into a mug/glass/egg cup to help it stand up. Start with some whipped cream, I piped mine in, but you can use a teaspoon.
Then add some of the fresh and the macerated strawberries, followed by a few cubes of jelly and some dried strawberries.
Add more cream, them another layer of strawberries and jelly, followed by more cream and top with the final dried strawberries and some more jelly.
Serve with a napkin!
Everything about this treat screams Wimbledon to me, it is elegant, fun and delicious. The different textures and tastes of strawberry in this cone are incredible, and well worth the effort put into preparing them. I hope you enjoy!