


Monthly Dispatch

Welcome to my first Monthly Dispatch, in which I will be looking back over the month just gone, from the van build to my art to my travels, and sharing these stories with you all. The Monthly Dispatch is for free and paid subscribers alike and will hopefully add new depth to the journey we a taking together.
Last Month in the Van Build-
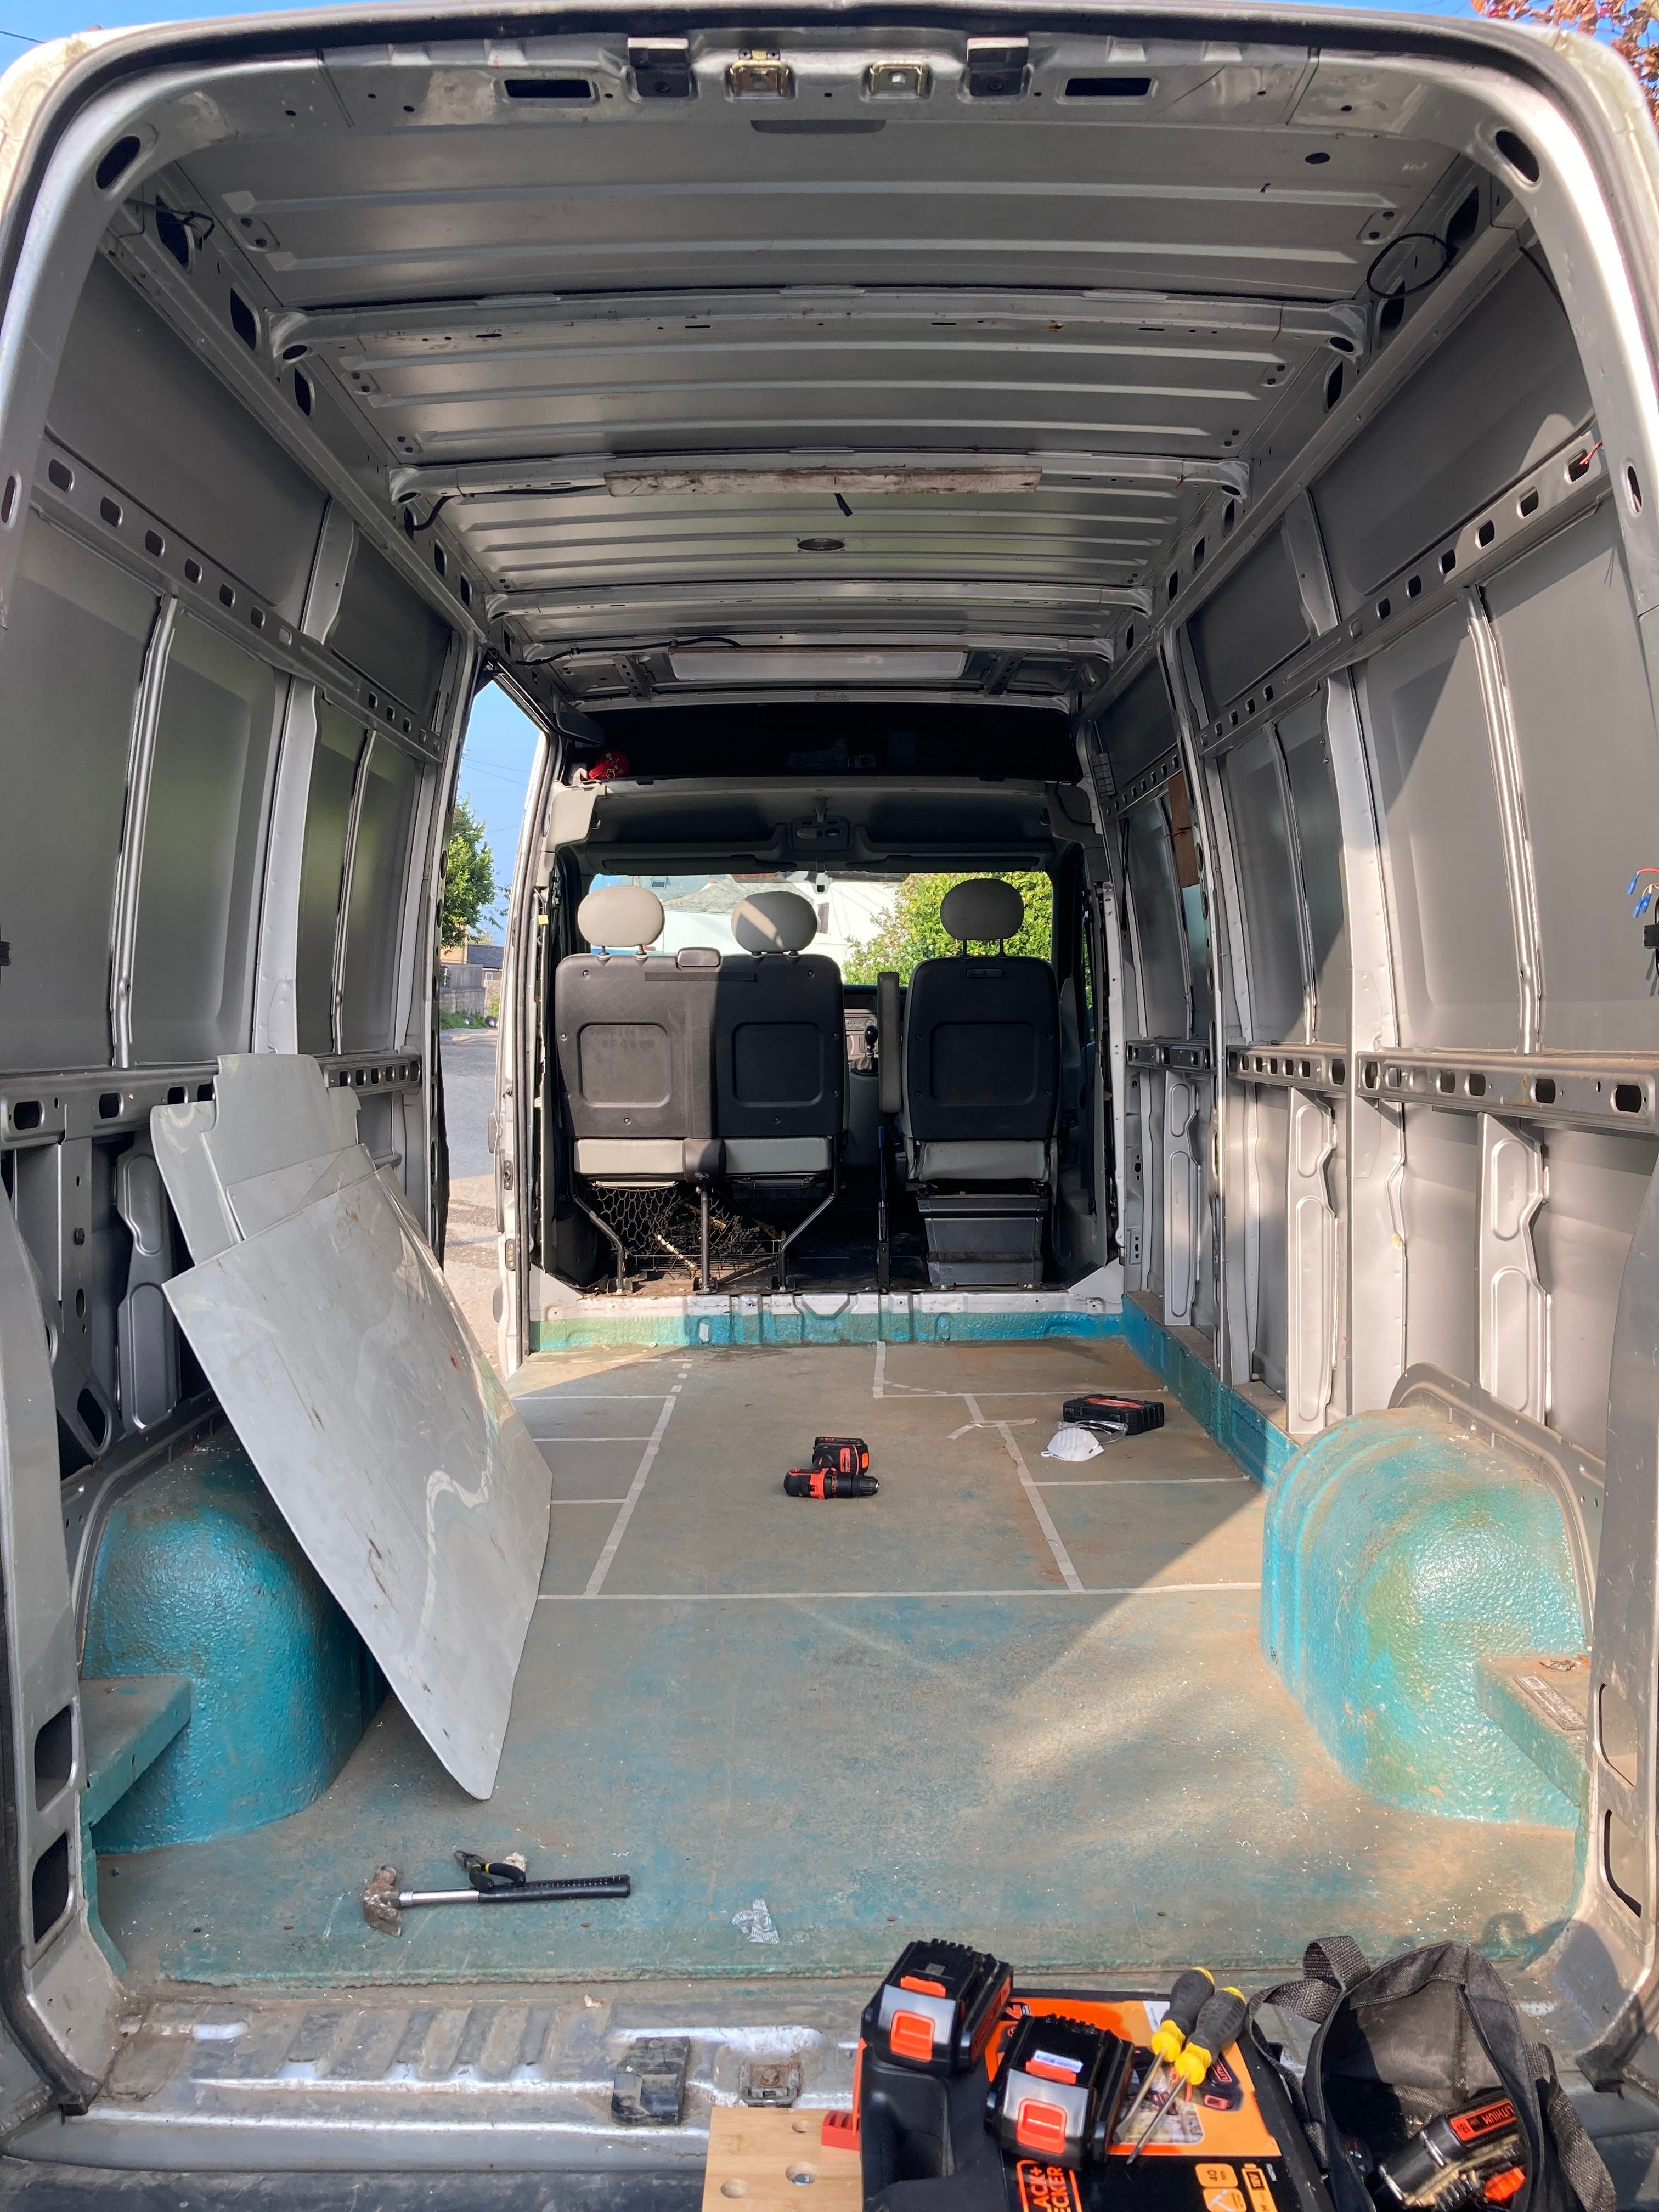
The thing about the van is that I’ve never done anything even vaguely like this. I’ve never even been on holiday in a camper van. It is thanks to YouTube Van Build videos, and to books and blogs like those by vandogtraveller, that I have any idea where to even start.
But as I worked on my floorplan this month, drawing it out on both the floor of the van and a single giant sheet of graph paper, I realised something. It isn’t the research that’s given me the confidence to start this journey. Rather my confidence comes from eight years with Mr. Logan. He was my Design Technology teacher from the first to the last year of Secondary School and he was that teacher for me, the one in whose care and under whose tutelage so much of who I am was shaped. He is the reason I know I can do what’s needed to build the van, even if I must learn how to do it as I go.
And so, over the last month, as the van has gone from a dream to physical reality, from researching compostable toilets to getting out the drill and taking the first steps in the build itself, I have had Mr. Logans voice in my mind encouraging me, believing in me and checking that I’ve planned my next step carefully enough that I don’t fall.
The next step in this case involves taking up the floors because any good building job involves pulling everything apart so you can put it back together just the way you want.
Seals and Blue Health-
I am currently working on a project that explores rewilding and our relationship with nature. I’ve been working on it for several years now and it has changed my life. The creative process and the art I am making is slowly but surely growing my career. But the project has also had unexpected impacts on other corners of my life. It has led me to the van plan, it has changed my diet, it has awoken a deeper interest in environmental and climate sciences, and it has led to meetings and conversations I’d never imagined having.
The weekend before last I visited the house of Sue Sayer, Founder and Director of the Cornwall Seal Group Research Trust. She had loaned me some seal bones for my work, and I went to return them in person. What I hadn’t expected was that our meeting would include my sitting at her kitchen table comparing my hand to the rearticulated bones of a seal’s flipper. And yet there I was, face to face with the undeniable, bone deep similarities that tie us to these extraordinary creatures and to the world in which they live. A world we are at risk of damaging beyond repair if we don’t act now. A world we need for our own health as well as theirs.

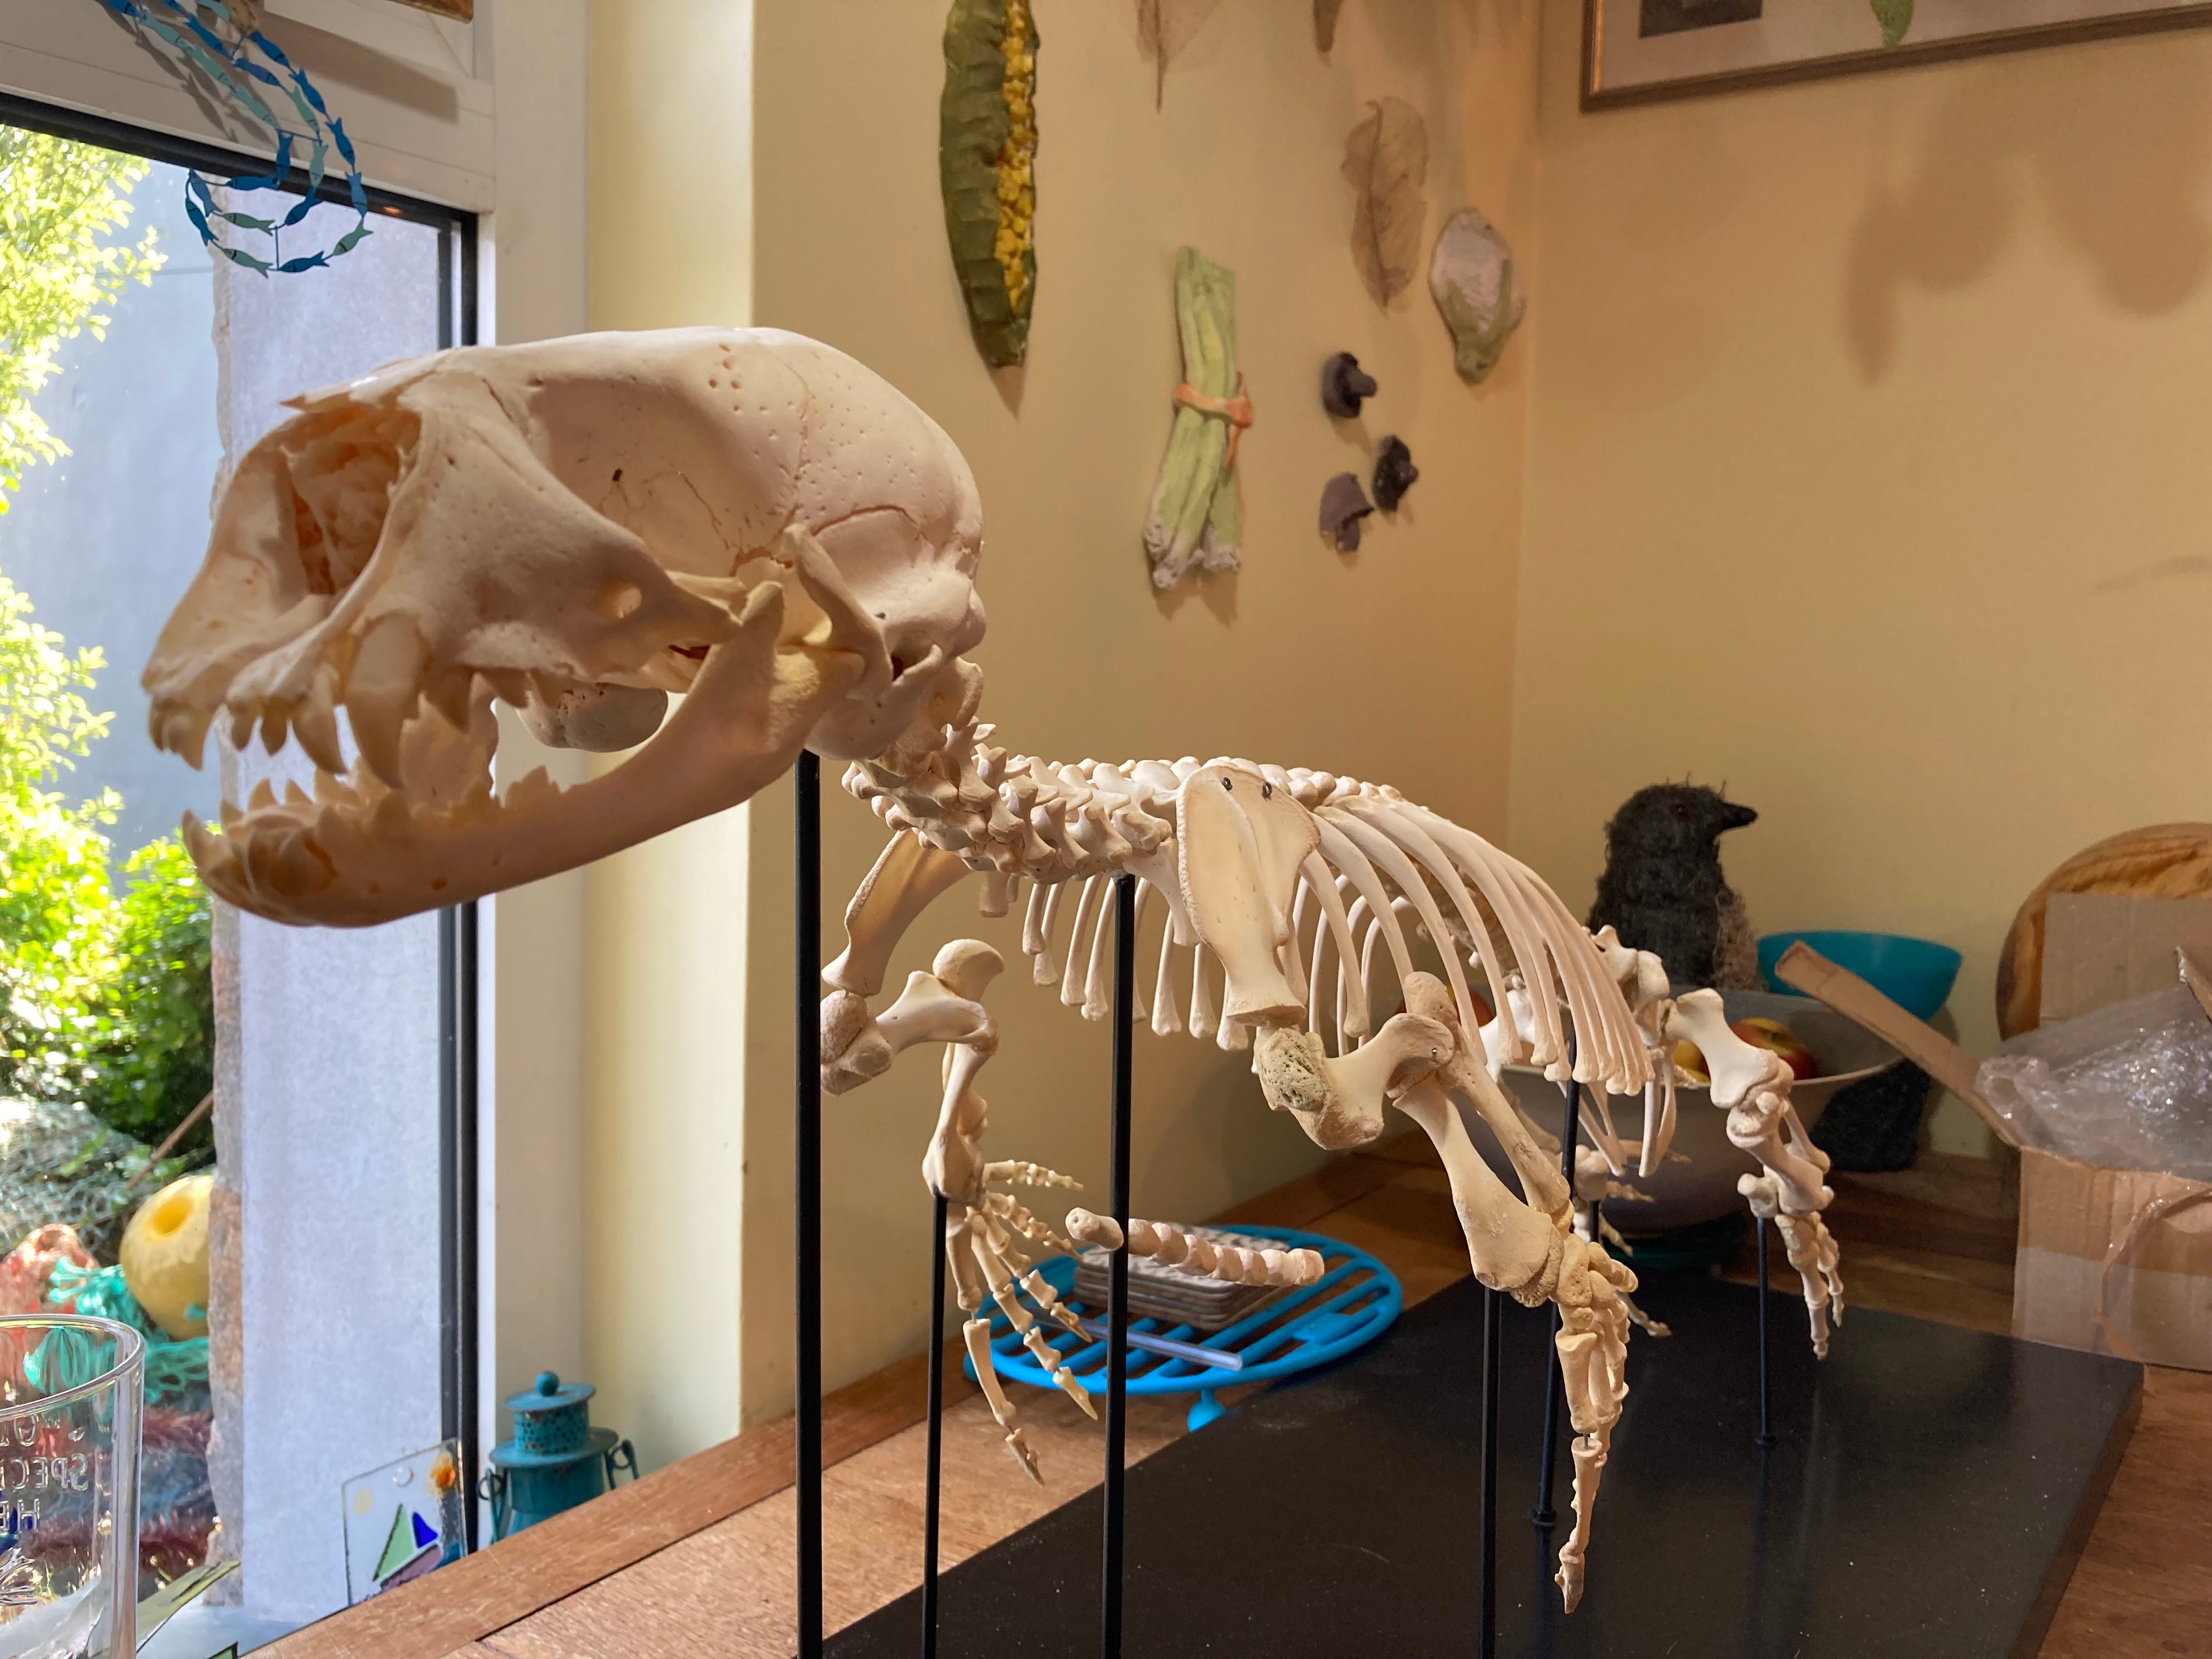
Have you ever been swimming in the sea or walked along a river and found yourself breathing easier, feeling happier? This response isn’t imagined, it is the result of what is termed Blue Health. Research organisations such as BlueHealth and the Barcelona Institute for Global Health have found that interacting with blue spaces can have a positive effect on mental health, wellbeing and physical health. It isn’t only our hands that aren’t that far from the seal, we too are literally made better by access to water.

I’m one of the lucky ones, I live next to the sea. I get to walk alongside it, to breath it in, to swim in it on a daily basis. I get to look at the seals as they live their lives in it. I get to build my van imaging the views of lakes and rivers and oceans I will see framed by its doors.
But benefitting from Blue Health and embracing our part in the world of water don’t require grand adventures or seaside living. The next time you are near a river or the coast, a pond or a lake, or even an outdoor pool, be it in the countryside or the middle of a city, take a moment to pause and breath it in. And when you do remember the seals living out there, because they are family to us, and we need each other.
If you want Weekly Updates or to simply receive the Monthly Dispatch into your inbox, hit subscribe now….
Monthly Recipe-
One of the things I love most in the world is cooking and baking. When thinking about what might be fun to include in these monthly dispatches, I decided I would like to close each one with a recipe. Hopefully some of you will enjoy trying them.
This month’s recipe is one I have been baking since my early teens. It is one of the first things I made by myself in a kitchen, and it is still one of my favourites. The recipe originally came from an Australian Women’s Weekly cookbook, but I’ve played with it over the years. I made it this month, the first thing I chose to bake in my Mums new kitchen. I can almost guarantee it will be the first thing I choose to bake in my van.
Cherry and Chocolate Cookies
Ingredients:
125g of Unsalted Butter
½ Cup of Caster Sugar
1/3 Cup of Soft Brown Sugar
1 Egg
1 ¾ Cups of Self Raising Flour
Glacé Cherries (as many as you fancy)
Dark Chocolate (between 100g-150g depending on your preferences)
Method:
Note: These cookies can be made using a kitchen mixer like a Kenwood or by hand. I’ve done both with equal success.
Preheat the oven to 180 degrees (fan assisted).
Place the butter, sugars and egg into your chosen mixing bowl. Beat together until fully combined and thickened. If using a Kenwood or similar use the cake mixer attachment, if doing by hand I would suggest using a hand held electric whisk for this step.
Add the flour. Mix until all the ingredients are fully combined. If using a Kenwood you can do this gradually with the beater on a continuous low setting. If doing it by hand add the flour two or three stages, mixing with either a wooden spoon or your hands as you go.
Chop up the Glacé Cherries and the Chocolate. I use a bar of good quality dark cooking chocolate do I can cut the chunks to various sizes, but you could use chocolate chips instead. Once you have them prepared add them to the cookie dough. I add them in stages so I can judge by eye when I think there is enough for the dough. Mix until all the chocolate and cherries are evenly dispersed. Again, if using a Kenwood or similar do this on a low setting so you don’t break the cherries up too much. If you are working without a Kenwood or kitchen aid, I would suggest using your hands as I find the dough too thick to use a spoon at this stage. Make sure to wash your hands well first though!
Place a large teaspoon of dough for each cookie on a flat cookie/baking tray, evenly spaced with a few centimetres between each. Because of the self-raising flour they tend to rise rather that spread out too much but you still want to give them some breathing room.
Bake for 12 minutes before removing. Allow to cool a little before placing on a wire rack.
Do the next tray load and keep repeating until all the dough is done.
Eat.
Note: One of the joys of this recipe is that the dough can be used for almost any flavour you like. It also works perfectly for Gluten Free baking, simply use self-raising GF flour, I prefer Doves.
Some flavours I’ve tried:
Vanilla and Pecan
Sultanas and Chocolate Chip
Dried Apple and Cinnamon
Vanilla and Walnut
Peanut Butter and Chocolate Chip
If you try anything else I’d love to hear about it!